The smell of brewing coffee gives every coffee drinker an anticipatory high and I am no exception. Each morning we dance the well-practised waltz of coffee-making, each step as familiar and comforting as if dancing with an old lover. Boil kettle, pour boiled water into the first clean mug I lay my hands on, couple of teaspoons of instant coffee, milk, sugar, done. Now I can go and chug my coffee sitting on an upturned milk crate out the back while my toddler tears down the retaining wall brick by brick.
I feel like this morning ritual could be upgraded? Let’s start with the coffee.
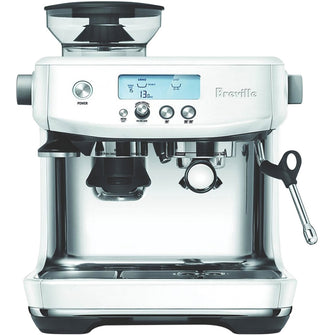
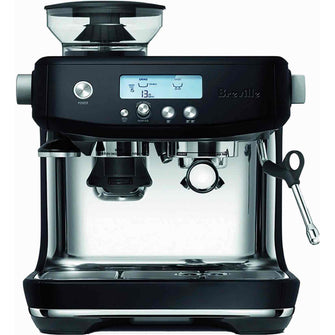
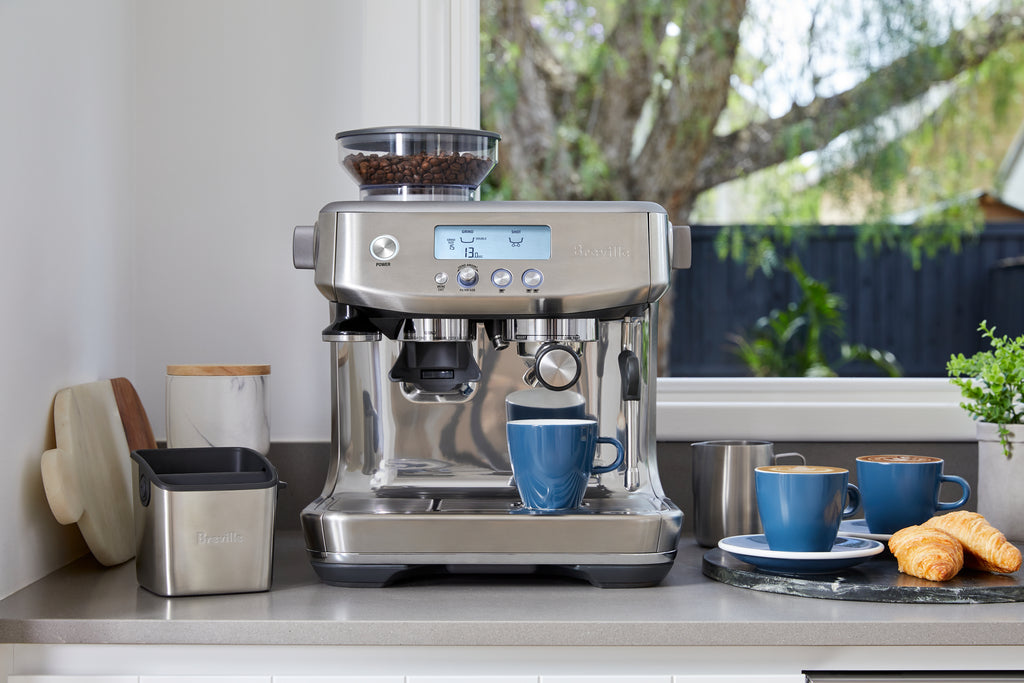
If you’re serious about your coffee or if you’re just seriously tired and need to be caffeinated ASAP then the Breville Barista Pro coffee machine is what you need.
What’s in the box?
The Barista Pro machine itself includes an integrated conical burr grinder with a 250g bean hopper capacity. It also features a steam wand for texturing your milk and a 2L water tank. The settings include an Adjustable Grind Control, 1 and 2 Cup Volumetric Control on an intuitive LCD interface (v easy to use). A smart brushed stainless steel finish will match any kitchen decor.
The Barista Pro also comes with a number of accessories, everything you need to create beautiful coffee at home (BYO coffee beans).
Here’s what’s included:
- Single & Dual Wall (1 & 2 Cup)
- Filter Baskets
- Integrated Tamper
- The Razor Precision Dose Trimming Tool
- 480 ml Stainless Steel Milk Jug
- Cleaning Kit
- Water Filter
Plus a 2 Year Limited Product Warranty for your peace of mind. If you’ve never used a machine like this to make coffee, I’ve got you covered in the following paragraphs. As always, for more detailed information please consult the manual which comes with the machine - it’s got very good instructions and pictures that are easy to follow.
How to make coffee using the Breville Barista Pro:
Step One: Turn it on.
Turn it on and wait a few seconds for it to heat up. Three seconds, to be exact.
Have you ever done the multitasking game where you see how much you can get done while the kettle boils? I once ate an entire cheesecake waiting for mine. With the Barista Pro you wouldn’t be able to have one single bite because it heats up in 3 seconds. What can you do in 3 seconds? Nothing, that’s the point, it’s super fast. This is because of the ThermoJet heating system which reaches the optimal extraction temperature before you’ve finished yawning and transitions from espresso to steam instantly.
Step Two: Grind the beans.
With one touch the integrated conical burr grinder delivers the right amount of coffee, freshly ground, on demand.
What’s a burr grinder? Is that the noise it makes? Yes, but that’s not why it’s a burr grinder. Burr grinders contain two revolving abrasive surfaces (called burrs) which produce a consistent and high quality grind (as opposed to the inconsistent or uneven grind of a blade grinder). The conical design of the Barista Pro is naturally energy efficient and heat resistant, making it perfect for home baristas (that’s you now, add it to your resume).
There’s a lot to know about various grind settings and how to troubleshoot to find the perfect grind, too much to go into now. My recommendation here is to consult the Barista Pro manual which is very detailed and easy to follow.
Step Three: Pour the shot.
These are the serious steps! This is my last joke for a few paragraphs. I can see that it’s not very good.
After you’ve ground the beans you need to tamp the coffee using the included coffee tamper accessory. Use the tamper to tamp down firmly (15 - 20kg of pressure). Consistency is key here, use even pressure every time for the best results.
Now you can pour the shot. You can either use the pre-programmed 1 or 2 cup shot volumes or you can do a manual pre-infusion and extraction. The manual function allows you to program the espresso shot and adjust the shot volume yourself depending on your discerning tastes.
Step Four: Texture the milk.
Did you know that doing the steamy thing with the milk was called texturing the milk? Of course you did, you’re basically a professional barista now.
Different brands and types of milk/milk alternatives will texture differently, so you’ll need to perfect the texturing of your preferred milk through trial and error, which is all part of the fun of making your own excellent coffee at home.
Whatever milk you prefer it’s gotta be cold and fresh - if you prefer your milk old and/or warm then please close this window and go have a good think about things.
Purge the attached steam wand before using it, then fill up your milk jug and insert the steam wand about 2cm below the surface of the milk. And now things get steamy - you’ll know the milk is the right temperature when the jug is hot to touch. Be careful not to make the milk too hot; heating the milk past 70 degrees will remove the sweetness, texture and flavour from the milk and make for some sad latte art.
Step Five: Combine milk and coffee.
Pour the milk into the coffee, add sugar if you must, and Robert’s your father’s brother.
So on those mornings when you trudge towards the kitchen wrapped in a blanket like an exhausted burrito, because your kid was up at 2am having a dance off with the cats, you can now have a slight spring in your step. There’s a steamy coffee at the end of the tiredness tunnel, thanks to the Breville Barista Pro.
Welcome to the club of fussy Coffee Snobs!